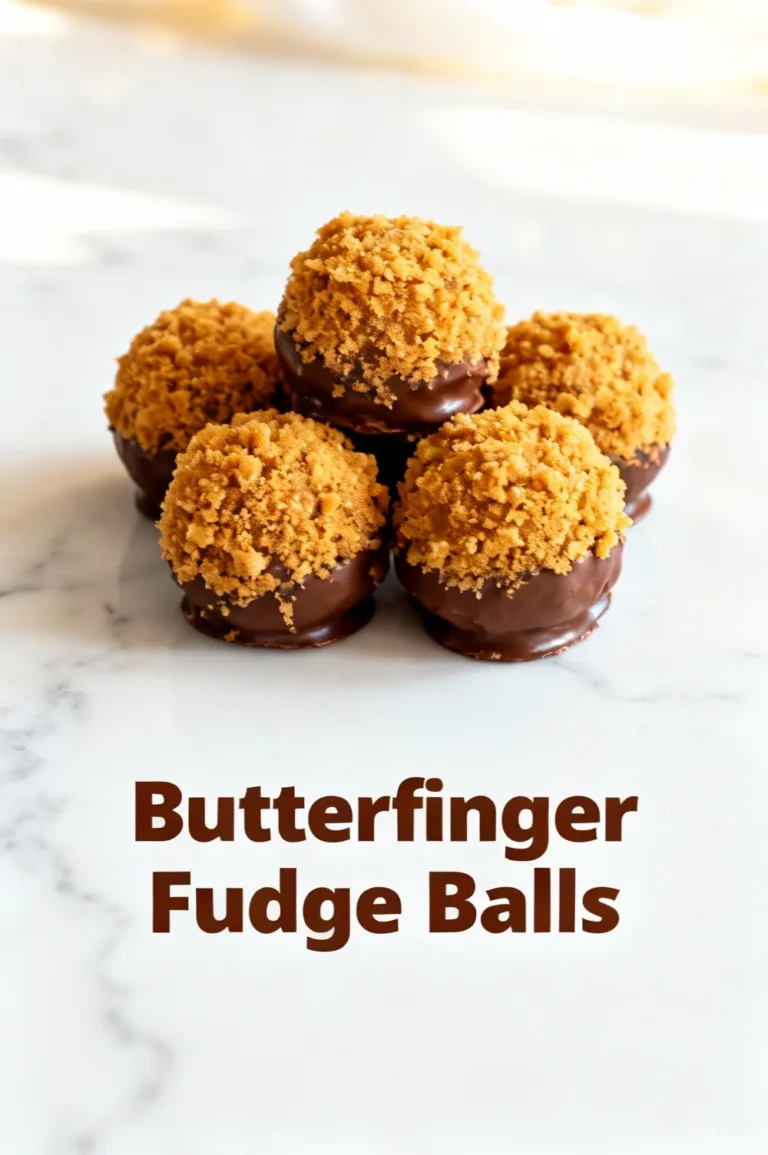
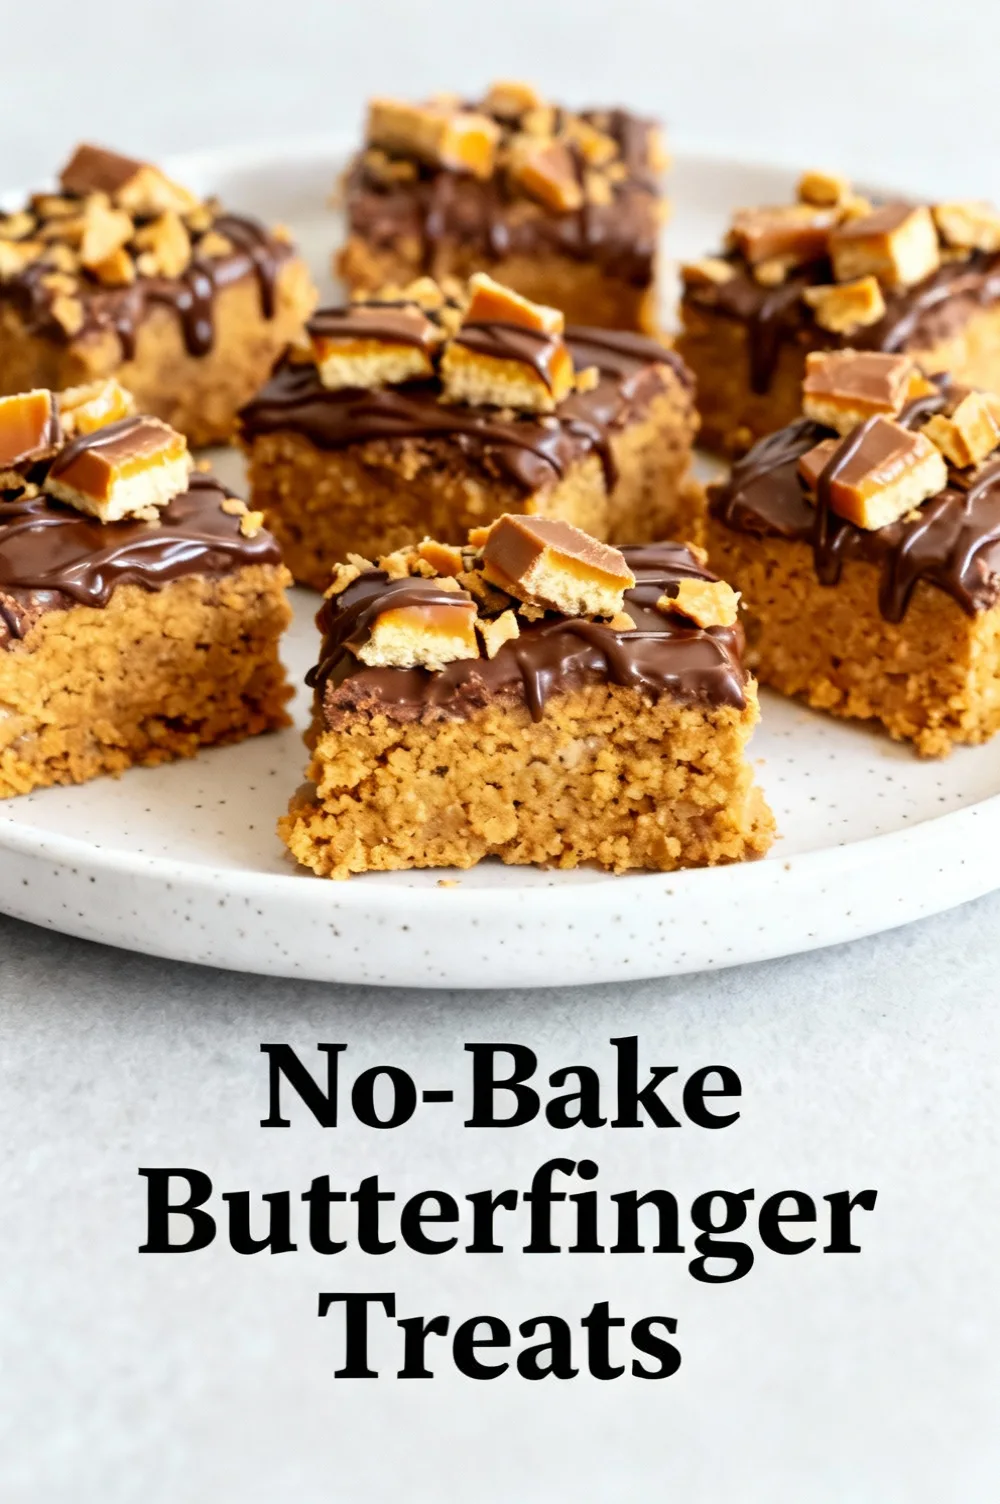
No-Bake Butterfinger Treats
Introduction
Did you know that many home cooks search for “no-bake” desserts more than twice a week on average during holiday months — and they’re often looking for candy-bar inspired recipes that deliver crunch and nostalgia without firing up the oven? If you love the candy-bar crunch of Butterfinger but want a fast, transportable treat that’s ready in under two hours, this no-bake Butterfinger treats recipe gives you that hit of texture and peanut-buttery flavor with minimal fuss and predictable results.
Ingredients List
- 4 tablespoons (1/4 cup) unsalted butter — for glossy texture and binding; swap with coconut oil for a dairy-free option.
- 10 oz bag marshmallows (about 283 g) — the classic binder in Rice Krispie-style treats; for a richer flavor use mini marshmallows or 12 oz marshmallow fluff.
- 6 cups crisp rice cereal (Rice Krispies or any puffed rice) — provides the light crunch; substitute with gluten-free puffed rice or puffed quinoa for a gluten-free or higher-protein twist.
- 2 cups crushed Butterfinger candy (roughly 10 fun-size bars or 180–200 g) — coarsely chopped for texture; use chopped peanut butter cups or chopped Heath for alternative candy-bar profiles.
- 1/2 cup creamy peanut butter (optional, about 120 g) — deepens peanut-butter flavor and improves chew; use almond butter or sunflower seed butter if allergic to peanuts.
- 8 oz semi-sweet or milk chocolate chips (about 225 g) — for topping or drizzling; swap with dark chocolate (60–70%) to cut sweetness.
- 1 teaspoon vanilla extract and a pinch of fine sea salt — to sharpen flavor and balance sweetness.
Sensory notes: imagine a chewy, marshmallow-golden base flecked with crunchy, peanut-buttered candy fragments and a glossy chocolate finish — contrast drives craveability.
Timing
Prep time: 10–15 minutes. Active assembly time: 10–15 minutes. Chill/set time: 45–60 minutes. Total time: 65–90 minutes (usually ~75 minutes), which is about 30–60% faster than comparable baked candy-bar bars that require an hour in the oven plus cooling. If you’re short on time, pressing into a smaller pan can reduce chill time to 30 minutes.
Step 1: Prep your candy and pan
Line a 9×13-inch pan with parchment paper leaving an overhang for easy lifting. Chop or crush Butterfinger bars into coarse pieces (aim for 1/4–1/2-inch chunks for the best mouthfeel). Measure cereal and have the chocolate chips ready to melt. Tip: chopping the candy into uneven pieces gives a better crunch contrast than pulverizing into dust.
Step 2: Melt butter and marshmallows
In a large, heavy-bottomed saucepan over low heat, melt the butter until foamy. Add marshmallows and stir continuously until completely melted and smooth. Remove from heat and stir in vanilla and a pinch of salt. Tip: low and slow prevents scorching; if you have a microwave-safe bowl, 60–90 seconds at 50% power with 20-second stirs works too.
Step 3: Add peanut butter (optional) and cereal
If using peanut butter, stir it into the warm marshmallow mixture until fully incorporated and glossy. Immediately fold in the rice cereal until evenly coated — work quickly because marshmallow sets fast. Add three-quarters of the crushed Butterfinger and gently fold to distribute. Tip: use a silicone spatula and spray it lightly with nonstick spray to avoid sticking.
Step 4: Press and chill
Transfer the mixture to the prepared pan and press firmly and evenly using a piece of parchment paper or an oiled spatula. Pressing firmly helps the bars hold their shape; for airier texture press lightly. Sprinkle the remaining Butterfinger pieces on top and press them in lightly. Chill in the refrigerator for at least 45 minutes, or at room temperature for 90 minutes if preferred. Tip: chilling gives cleaner cuts and prevents melting in warm kitchens.
Step 5: Chocolate topping and finishing
Melt chocolate chips in a microwave-safe bowl in 20-second bursts at 50% power, stirring between bursts until smooth. Drizzle or spread melted chocolate over chilled bars and let set in the fridge for 10–15 minutes. Using a sharp knife warmed under hot water (then dried) yields neat slices. Tip: add flaky sea salt or crushed pretzel pieces after drizzling chocolate for a sweet-salty lift.
Nutritional Information
Estimated per serving (1 of 16 bars): Calories ~300 kcal; Fat ~15 g; Carbohydrates ~40 g; Sugars ~25 g; Protein ~4 g; Fiber ~1 g; Sodium ~150 mg. These are approximate values calculated from USDA FoodData Central averages for the main ingredients (marshmallows, butter, rice cereal, chocolate, peanut butter, and Butterfinger candy). If you swap to dark chocolate, reduce overall sugar by an estimated 10–20% per bar; using a gluten-free puffed rice keeps carbs similar but reduces processing differences. For precise tracking, enter your exact brands and portions into a nutrition calculator.
Healthier Alternatives for the Recipe
- Lower sugar: replace semi-sweet chips with 60–70% dark chocolate and reduce marshmallows by 25%, adding 2 tablespoons of honey or maple syrup to maintain chew — yields fewer refined sugars per bar.
- Lower fat: swap 1/2 the butter for mashed banana or unsweetened applesauce in experiments (note: texture will be softer). Use powdered peanut butter rehydrated with a small amount of water to reduce fat.
- Gluten-free: use certified gluten-free puffed rice and ensure Butterfinger substitute or candy pieces are gluten-free.
- Vegan/dairy-free: use dairy-free butter, vegan marshmallows (gelatin-free), and dairy-free chocolate chips; swap Butterfinger pieces for crushed vegan peanut butter candy or chopped roasted peanuts mixed with brown rice crisps for the crunch factor.
- Protein boost: fold in a scoop of neutral-flavored protein powder (10–20 g) into the warm marshmallow-butter mix, reducing the rice cereal by 1 cup to maintain balance.
Serving Suggestions
Cut into 16 squares and serve at room temperature for maximum chew. Pair with cold coffee, milk (dairy or plant-based), or a scoop of vanilla ice cream for an indulgent dessert plate. For party-friendly presentation, trim edges, insert wooden skewers for pop-style servings, or cut into bite-size squares and dust with cocoa powder or powdered sugar. Personalized suggestion: for a retro Halloween or game-day platter, mix in chopped pretzels and extra mini M&Ms for color and crunch.
Common Mistakes to Avoid
- Overheating marshmallows: high heat scorches sugars and yields a grainy texture. Use low heat and continuous stirring.
- Pulverizing the candy: crushing Butterfingers into dust loses the signature crunch; aim for coarse pieces to preserve contrast.
- Pressing too lightly: under-pressed bars will crumble when sliced; use firm, even pressure and chill thoroughly.
- Skipping the chill: cutting immediately will smear the chocolate and deform bars. Allow adequate set time.
- Not balancing salt: these treats are very sweet — a tiny pinch of salt in the marshmallow mix and flaky sea salt on top brightens flavors.
Storing Tips for the Recipe
Store in an airtight container at room temperature for up to 3 days, separated by parchment to avoid sticking. For longer shelf-life (up to 10 days), refrigerate; allow bars to sit at room temperature 10–15 minutes before serving to regain chew. For freezing, wrap individual bars tightly in plastic wrap and freeze in a sealed container for up to 3 months; thaw overnight in the fridge and bring to room temperature before serving. Make-ahead tip: prepare the cereal-and-marshmallow base a day ahead and add Butterfinger pieces and chocolate the day of serving for the freshest crunch.
Conclusion
These no-bake Butterfinger treats deliver candy-bar nostalgia with the speed and simplicity busy cooks crave. With coarse Butterfinger pieces, a marshmallow-rice cereal base, optional peanut butter for depth, and a glossy chocolate finish, you get layers of texture and flavor without heating the oven. Try the recipe as written for a reliably crowd-pleasing dessert, then experiment with the healthier swaps and presentation tips above. If you make them, leave a comment with your favorite candy swap or photo — I love seeing reader variations and will feature standout twists in a follow-up post.
FAQs
Q: Can I make these nut-free? A: Yes—omit peanut butter and replace Butterfinger pieces with chopped, nut-free candy like crushed pretzels mixed with caramel bits or use a nut-free chocolate candy alternative. Verify labels for cross-contamination.
Q: How do I keep the Butterfinger pieces from getting soggy? A: Fold most of the pieces into the warm mixture, reserve some to press on top after pressing into the pan, and chill promptly. The top pieces stay crunchiest.
Q: Can I use mini marshmallows instead of a 10 oz bag? A: Yes — use roughly equivalent volume (a 10 oz bag is common). If using marshmallow fluff, warm gently first to ensure proper mixing.
Q: How do I cut clean slices without sticking? A: Chill fully, then use a sharp knife warmed briefly under hot water and wiped dry between cuts. Dust the blade with a little oil if chocolate sticks.
Q: Can I scale the recipe up or down? A: Yes — keep ratios roughly the same (6 cups cereal : 10 oz marshmallows : 4 tbsp butter) and scale the Butterfinger and chocolate proportions accordingly. Use a bigger or smaller pan and adjust chill time.
Explore related no-bake recipes like no-bake Snickers bars, peanut butter Rice Krispie bites, or chocolate-dipped cookie bars for more oven-free inspiration.
No-Bake Butterfinger Treats
Crunchy, peanut-buttery no-bake bars studded with crushed Butterfinger candy and finished with a silky chocolate layer.
Ingredients
- 3 cups crushed Butterfinger candy (about 10–12 fun-size bars)
- 4 cups crispy rice cereal (e.g., Rice Krispies)
- 1/2 cup (115g) unsalted butter
- 1/2 cup (120g) creamy peanut butter
- 1 (14 oz / 396 g) can sweetened condensed milk
- 1 tsp vanilla extract
- 8 oz (225 g) semisweet or milk chocolate chips
- 1 tbsp neutral oil (vegetable or coconut), optional — for smoother chocolate topping
- Pinch of salt (optional, to balance sweetness)
Instructions
- Line an 8×8-inch (20×20 cm) baking pan with parchment paper, leaving an overhang for easy removal.
- Place the Butterfinger pieces in a zip-top bag and crush with a rolling pin until you have a mix of small bits and crumbs. Combine the crushed Butterfinger with the crispy rice cereal in a large bowl.
- In a medium saucepan over low heat, melt the butter, peanut butter and sweetened condensed milk, stirring frequently until the mixture is smooth and well combined (about 3–5 minutes). Remove from heat and stir in the vanilla and a pinch of salt if using.
- Pour the warm peanut-butter mixture over the cereal and crushed Butterfinger. Stir quickly but gently until everything is evenly coated.
- Transfer the mixture to the prepared pan. Press firmly and evenly into the pan using the back of a spatula or a sheet of parchment to get a smooth, compact surface.
- Place the pan in the refrigerator for at least 1 hour to set.
- When set, melt the chocolate chips with the oil (if using) in a microwave in 20–30 second bursts, stirring between, or in a heatproof bowl over a pan of simmering water. Spread the melted chocolate evenly over the chilled bars.
- Return to the refrigerator for 10–15 minutes or until the chocolate topping is firm. Lift the slab from the pan using the parchment overhang and cut into 12 bars.
- Store in an airtight container in the refrigerator for up to 7 days or freeze for longer storage. Bring to room temperature a few minutes before serving if desired.
Nutrition Information
- Calories: 310 kcal
- Cholesterol: 15 mg
- Sodium: 150 mg
- Carbohydrates: 36 g
- Fiber: 1 g
- Sugar: 24 g
- Protein: 5 g