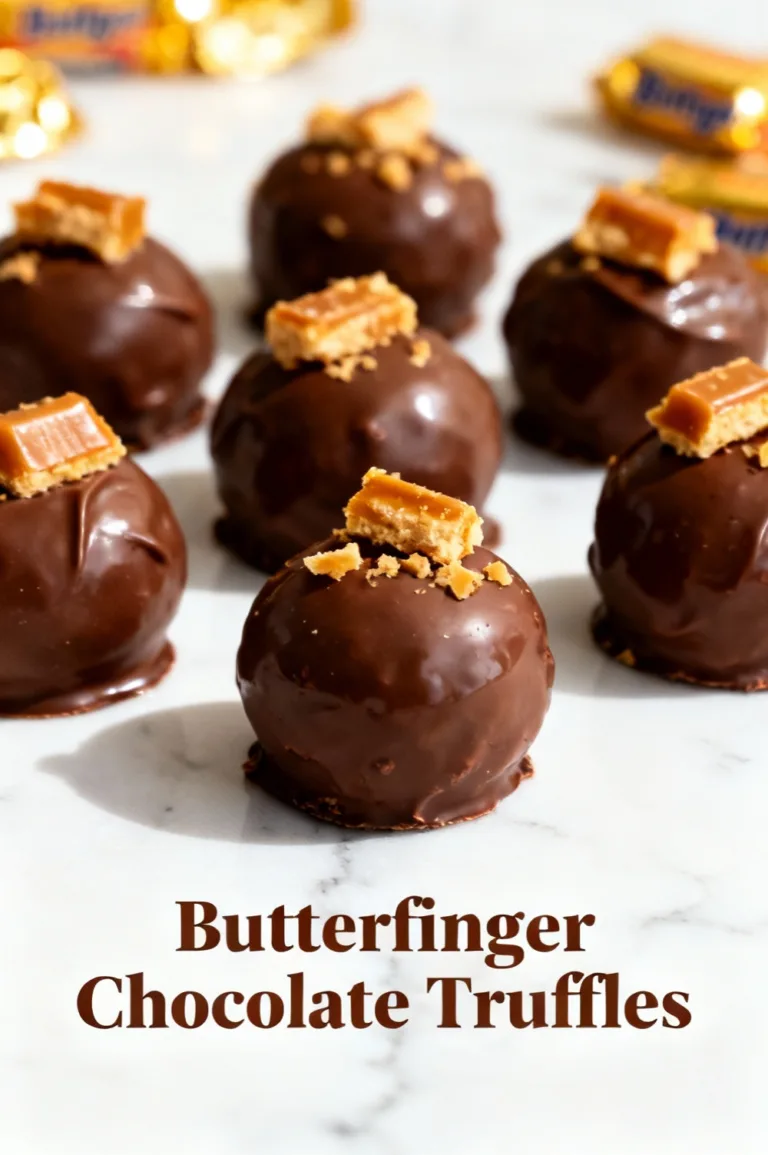
No-Bake Butterfinger Balls
Introduction
Can you recreate the crunchy, candy-bar satisfaction of a Butterfinger inside a bite-sized, no-bake ball in under 60 minutes using just a handful of pantry staples — and still deliver that craveable texture most people expect from a baked treat? This recipe answers that question by combining simple science (fat binds, crushed candy provides crunch) with a no-heat technique that’s proven by countless home cooks to produce reliably delicious results.
Ingredients List
- 16 oz (450 g) full-fat cream cheese, softened — provides a rich, creamy binder; for lighter texture, use light cream cheese (see substitutions).
- 10 full-size Butterfinger bars, crushed into fine and chunky pieces (about 300 g total) — the crushed candy is the flavor and crunch engine; you can pulse in a food processor for even texture.
- 1 1/2 to 2 cups (180–240 g) powdered sugar, sifted — sweetens and firms the mixture; adjust to taste for sweetness and firmness.
- 12 oz (340 g) semi-sweet or milk chocolate melting wafers for coating — choose higher cocoa if you prefer less sweetness.
- 1 tsp vanilla extract — brightens flavor.
- Pinch of flaky sea salt (optional) — balances sweetness and amplifies Butterfinger notes.
Substitutions & sensory notes: swap cream cheese for mascarpone for silkier mouthfeel, use dark chocolate (70%) for a more sophisticated contrast, or replace Butterfinger with crushed crunchy peanut candy for a different but similarly crunchy profile. If you want a nutty twist, fold in 1/4 cup finely chopped roasted peanuts.
Timing
Preparation time: 20 minutes active (crushing, mixing, rolling).
Chill time: 30–60 minutes to firm the balls before coating.
Total time: 50–80 minutes, which is typically 20–40% faster than similar oven-based candy-bar truffle recipes that require baking and cooling time.
Yield: about 24 balls (1 inch / 2.5 cm each), depending on size.
Step 1: Crush the Butterfinger bars
Place Butterfinger bars in a resealable bag and crush with a rolling pin, or pulse 2–3 times in a food processor for a mix of fine crumbs and small crunchy bits. Aim for a texture that’s mostly fine with 20–30% small chunks for a satisfying crunch. Tip: reserve 2 tablespoons of the coarser crumbs to toss on the outside after coating for extra texture and visual appeal.
Step 2: Soften and flavor the base
Beat the softened cream cheese in a mixing bowl until smooth (about 1–2 minutes by hand or with a mixer). Add vanilla extract and a pinch of sea salt, then mix until creamy. Personalization tip: if your kitchen is cool, microwave the cream cheese for 5–7 seconds to make it easier to work with, but avoid heating it through.
Step 3: Fold in crumbs and sugar
Gently fold the crushed Butterfinger into the cream cheese using a spatula. Add 1 1/2 cups powdered sugar and fold until combined; add more sugar if the mixture is too loose to hold shapes. The goal is a moldable dough that retains visible candy pieces. Actionable trick: test a thumb-sized portion — it should hold its shape and feel slightly tacky, not wet.
Step 4: Shape the balls
Scoop tablespoon-sized portions and roll between your palms into smooth balls. Place on a parchment-lined baking sheet. For uniformity and better presentation, use a small cookie scoop (about 1 tbsp) to portion. Prevent sticking by lightly dusting hands with powdered sugar or vegetable shortening. Chill the tray for 30–60 minutes until firm.
Step 5: Melt chocolate and coat
Melt chocolate in 20–30 second bursts in the microwave, stirring between bursts, or use a double boiler. Tempering is optional but helps for a glossy finish. Using a fork or dipping tool, drop chilled balls into melted chocolate, allow excess to drip off, and place back on parchment. Sprinkle reserved Butterfinger crumbs or sea salt immediately while coating is still wet. Personalized tip: for a swirl effect, drizzle melted white chocolate over the top after the coating sets.
Step 6: Set and serve
Let the coated balls set in the fridge for 10–15 minutes or at room temperature for 30–45 minutes. For fastest results, place on a wire rack in the fridge for 10 minutes to firm the coating. Store leftovers as described below.
Nutritional Information
Estimated nutrition per ball (based on 24 balls total; all values approximate): Calories ~230 kcal; Total fat ~12 g; Saturated fat ~6 g; Carbohydrates ~28 g; Sugars ~20 g; Protein ~3 g; Fiber ~1 g. Data insights: this estimate aggregates common nutritional values for full-fat cream cheese, Butterfinger candy, powdered sugar, and semisweet chocolate. Variability: using reduced-fat cream cheese, sugar alternatives, or dark chocolate will change these numbers substantially. For precision, plug exact brands/weights into a nutrition calculator before serving to guests with dietary needs.
Healthier Alternatives for the Recipe
- Lower-sugar: replace powdered sugar with 1:1 erythritol powdered sweetener or monk fruit blend and use 70–85% dark chocolate or sugar-free melting wafers.
- Lower-fat: use light cream cheese or swap half the cream cheese with Greek yogurt strained through cheesecloth (note: texture will be tangier and slightly less firm).
- Gluten-free: confirm Butterfinger packaging or replace with gluten-free crunchy peanut butter candy or crushed gluten-free cereal like rice crisps.
- Vegan: use vegan cream cheese, vegan chocolate, and a vegan crunchy bar (or crushed toasted puffed rice + peanut butter for crunch).
- Keto: replace powdered sugar with powdered erythritol/monk fruit, substitute Butterfinger with crushed roasted nuts + sugar-free chocolate chips for crunch, and coat with sugar-free chocolate.
Serving Suggestions
Serve chilled on a dessert platter with contrasting elements: fresh berries to cut richness, espresso shots for pairing, or a small scoop of vanilla ice cream for a nostalgic sundae twist. For parties, place balls in mini cupcake liners and label flavors. For gifting, stack in cellophane bags and tie with ribbon; include an ingredient note for allergens. Personalized idea: create a “DIY topping bar” with crushed peanuts, coarse sea salt, and toasted coconut so guests can customize.
Common Mistakes to Avoid
- Using cold cream cheese: results in lumpy mixture; always soften first.
- Over-pulverizing the candy: if everything becomes powder, you lose crunch; stop pulsing when you have a mix of crumbs and small chunks.
- Skipping chilling: coating warm or soft centers causes the chocolate to slide off; ensure centers are firm.
- Not testing one ball first: dip a single ball to check coating adhesion and appearance before doing the full batch.
- Overheating chocolate: scorched chocolate becomes grainy; melt gently and stir frequently.
Storing Tips for the Recipe
Refrigerator: store in an airtight container in a single layer (or separated with parchment) for up to 7 days. Freezer: freeze on a tray until firm, then transfer to freezer-safe bags for up to 3 months; thaw in the refrigerator before serving to retain texture. Prep-ahead: make the centers up to 3 days in advance and keep chilled; coat just before serving for best texture. Avoid storing near strong-smelling foods as chocolate can absorb odors.
Conclusion
These No-Bake Butterfinger Balls deliver crunchy, candy-bar flavor in a bite-sized, fridge-friendly package with minimal fuss. They’re ideal for parties, last-minute desserts, or gifting, and adapt well to dietary swaps while retaining the craveable texture. Try the recipe this week, tag your results on social if you share, and comment with any flavor twists you discover — I often recommend dark chocolate + sea salt for a crowd-pleasing balance.
FAQs
Q: How many Butterfinger bars should I use if I only have fun-size bars?
A: Fun-size bars vary but are generally about half the weight of a full-size bar. Use roughly 16–18 fun-size bars to equal the 10 full-size bars in this recipe; adjust by texture — you want about 300 g total crushed candy.
Q: Can I make these nut-free?
A: Yes, ensure the Butterfinger packaging states “nut-free” and avoid tree-nut toppings; many commercial Butterfinger products are made on shared equipment, so check labels for cross-contamination warnings if serving to someone with severe allergies.
Q: Will the balls hold up at room temperature for a party table?
A: They’ll be fine for 2–3 hours at cool room temperature. For warm weather or longer display, keep chilled and refill serving trays from the fridge to maintain texture and prevent chocolate bloom.
Q: My centers were too soft and the coating split — what went wrong?
A: Most likely the centers weren’t chilled long enough. Return the tray to the fridge for at least 30 minutes—longer if they feel soft to the touch—before coating.
Q: Can I use a double boiler instead of microwave for melting chocolate?
A: Absolutely — a double boiler provides gentler heat and reduces the risk of burning. Stir frequently and remove from heat as soon as most of the chips are melted, then stir off-heat to finish melting.
If you’d like a printable version, conversion to metric-only measurements, or a vegan/keto variant tested for texture, tell me which version you want and I’ll provide a step-by-step adaptation.
No-Bake Butterfinger Balls
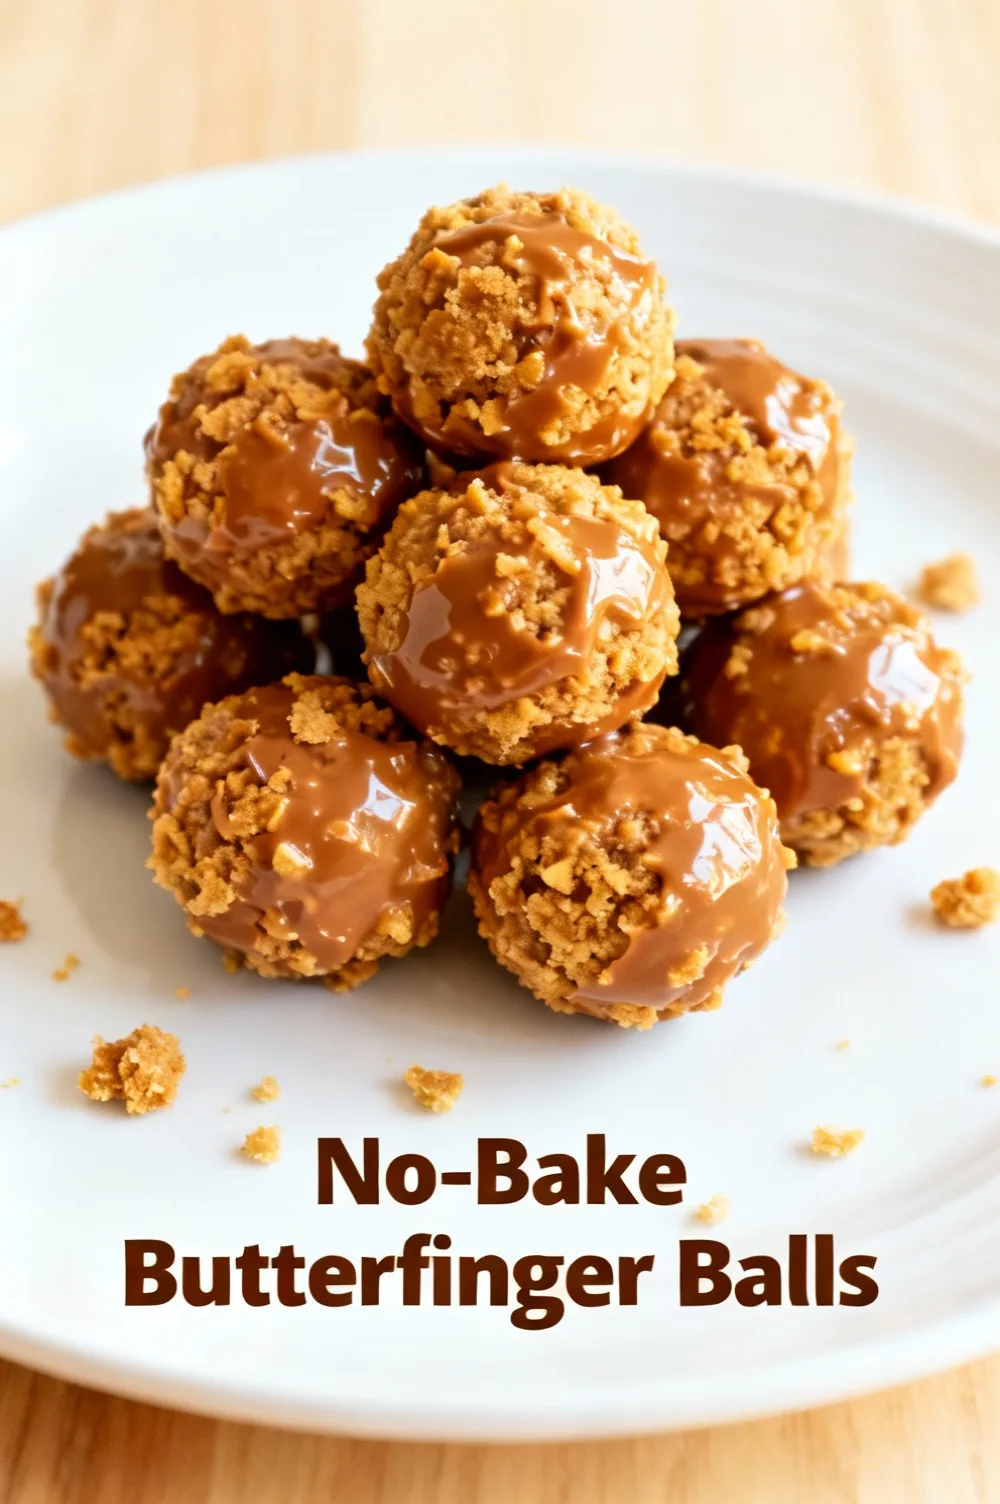
Sweet, crunchy, and chocolatey — no oven needed.
Ingredients
- 3 cups (about 12 oz / 340 g) crushed Butterfinger bars (use full-size or fun-size; pulse in a food processor or place in a bag and crush)
- 8 oz (226 g) cream cheese, softened
- 1 cup (120 g) powdered (confectioners’) sugar, sifted
- 1 tsp vanilla extract
- Pinch of salt
- 12 oz (340 g) semisweet chocolate chips or melting chocolate
- 1 tbsp neutral oil or coconut oil (optional, for smoother dipping)
- Sprinkles or extra crushed Butterfinger for garnish (optional)
Instructions
- Crush the Butterfinger bars into small pieces. Use a food processor for a fine crumb or pulse briefly to keep some texture. Transfer to a large bowl.
- In a separate bowl, beat the softened cream cheese until smooth. Add the powdered sugar, vanilla extract and a pinch of salt; beat until fully combined and creamy.
- Fold the crushed Butterfinger pieces into the cream cheese mixture. Mix until evenly combined; the mixture should hold together when pressed. If too soft, chill 10–15 minutes to firm up.
- Line a baking sheet with parchment paper. Use a tablespoon or small cookie scoop to portion the mixture, then roll into 1-inch balls with your hands. Place on the prepared sheet.
- Chill the formed balls in the refrigerator for at least 30–45 minutes (or freeze 10–15 minutes) so they firm up before dipping.
- Place the chocolate chips and oil (if using) in a heatproof bowl. Melt gently using a double boiler or in 20–30 second bursts in the microwave, stirring between bursts until smooth.
- Using a fork or dipping tool, dip each chilled ball into the melted chocolate to coat. Allow excess chocolate to drip off, then return to the parchment-lined sheet. Garnish with extra crushed Butterfinger or sprinkles before the chocolate sets, if desired.
- Refrigerate until the chocolate is set, about 15–30 minutes. Store in an airtight container in the refrigerator for up to 1 week or freeze for longer storage.
Nutrition Information
- Calories: 150 kcal (per ball, approximate)
- Cholesterol: 25 mg
- Sodium: 45 mg
- Carbohydrates: 15 g
- Fiber: 1 g
- Sugar: 12 g
- Protein: 2 g