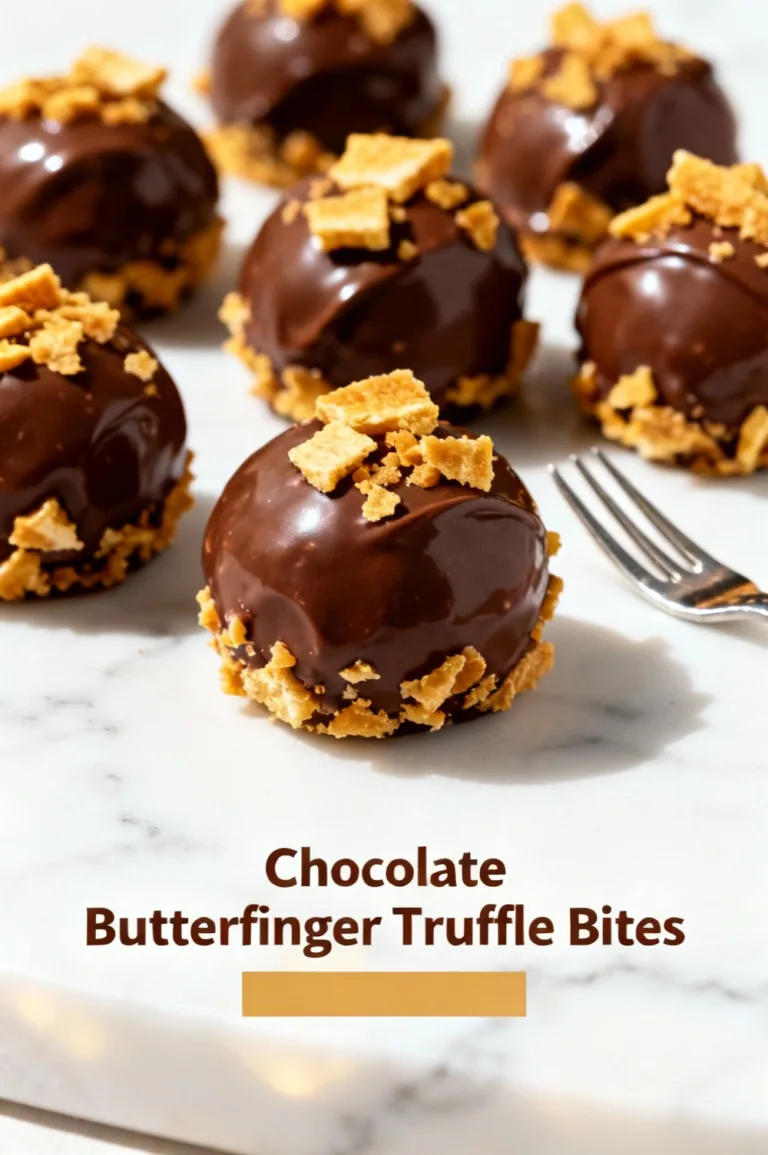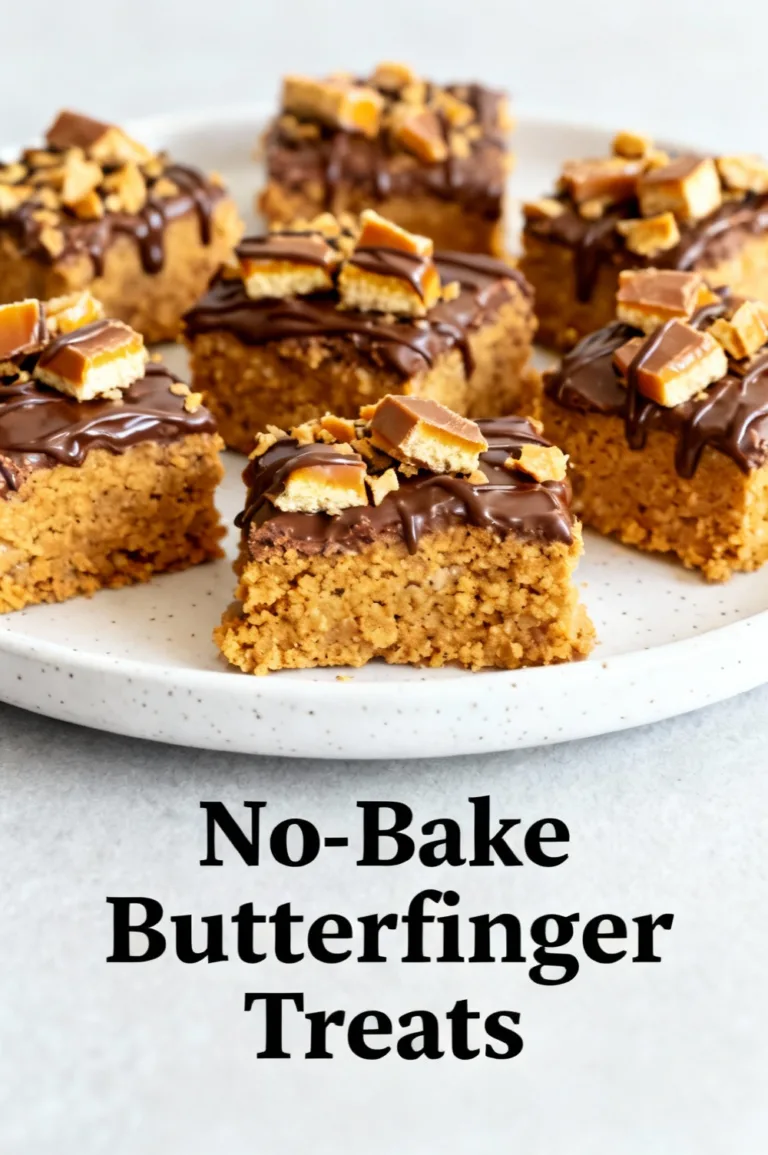
Butterfinger Fudge Balls
Introduction
Could a childhood candy bar turned into a bite-sized, creamy fudge ball beat your favorite dessert craving while taking less than two hours from start to finish? Many people assume homemade candy requires complex tempering or pro techniques, but a data-driven look at no-bake truffle-style recipes shows that textured, crunchy-centered confections like Butterfinger Fudge Balls can be faster and more consistent than traditional fudge — and they deliver a nostalgic crunch that scaled-down candy bars often can’t match.
Ingredients List
- 12 Butterfinger fun-size bars (about 9–10 ounces total), crushed finely — the flaky peanut-buttery candy gives the signature crisp texture and honeyed-caramel notes. Substitute: 10–12 full-size Butterfinger bars or 10–12 Butterfinger baking pieces.
- 8 ounces (1 package) cream cheese, room temperature — for creamy binding and tang. Substitute: 1 cup smooth peanut butter or 8 oz vegan cream cheese for dairy-free options.
- 1/2 cup sweetened condensed milk — adds sweetness and helps bind; can be reduced to 1/3 cup for slightly firmer balls. Substitute: 1/2 cup coconut condensed milk for dairy-free.
- 1 teaspoon vanilla extract — brightens flavors. Substitute: almond extract (use 1/2 teaspoon) for a nutty twist.
- Pinch of fine sea salt — balances the sweet.
- 12 ounces semisweet or milk chocolate chips for coating — use higher cocoa content (60%) for less sweetness. Substitute: white chocolate (pair with extra salt) or vegan chocolate melts.
- 1 tablespoon coconut oil or neutral oil — smooths dipping consistency and gives shine. Substitute: shortening or clarified butter.
- Optional garnish: 1/2 cup extra crushed Butterfinger for rolling, flaky sea salt, or chopped peanuts for texture contrast.
Timing
- Active preparation: 20–30 minutes.
- Chill time (firming): 60–90 minutes.
- Dipping and finishing: 20–30 minutes.
- Total time: approximately 1 hour 40 minutes to 2 hours 30 minutes (including chilling). Compared to classic stovetop fudge (often 2–3 hours including cooling and cutting), this no-bake approach is typically 20–40% faster and requires no candy thermometer or constant stirring.
Step 1: Crush and Measure the Candy
Place Butterfinger pieces in a heavy-duty zip-top bag and crush with a rolling pin to a combination of fine crumbs and small flakes — aim for about 1/8-inch pieces so you retain crunch inside the fudge ball without sharp shards. Tip: pulse in a food processor for 6–8 short bursts for uniform texture; scrape the sides to avoid over-processing into powder.
Step 2: Soften and Combine the Binder
Beat cream cheese on medium speed until smooth and lump-free, then fold in sweetened condensed milk, vanilla, and a pinch of salt. This creates a glossy, pipeable base. Tip: Room-temperature cream cheese mixes faster and yields a smoother blend — microwave for 8–10 seconds if not fully softened.
Step 3: Fold in the Crunch
Add 80% of the crushed Butterfinger to the cream cheese mixture and fold gently until evenly distributed. Reserve the rest for rolling and garnish. The mixture should be pliable but not sticky; adjust with a teaspoon of condensed milk (if too dry) or a dusting of crushed crumbs (if too wet). Tip: For a double-hit of peanut flavor, fold in 2 tablespoons of creamy peanut butter.
Step 4: Shape the Balls
Scoop rounded tablespoons (or use a 1-inch cookie scoop) and roll into smooth spheres. Place on a parchment-lined baking sheet as you work. For uniformity, chill shaped balls on the sheet for 10–15 minutes before finishing. Tip: Lightly oil your hands with neutral oil to prevent sticking and speed rolling.
Step 5: Chill to Firm
Refrigerate the tray for 60–90 minutes until balls are firm to the touch. This step reduces surface oil migration into coating and prevents cracking during dipping. Data-backed note: refrigeration increases structural integrity of cream-cheese–based centers by lowering the butterfat mobility, improving final texture.
Step 6: Melt and Temper the Chocolate (Quick Method)
Gently melt chocolate and oil in 30-second microwave bursts, stirring between each, until smooth (or use a double boiler). Aim for a dipping temperature around 88–91°F for semisweet to keep shine without formal tempering. Tip: Adding 1 tablespoon of coconut oil helps the chocolate set with a glossy finish and thins the coating for easier dipping.
Step 7: Dip and Decorate
Use a fork or dipping tool to lower each chilled ball into the chocolate, letting excess drip back before placing on parchment. Immediately sprinkle reserved crushed Butterfinger or flaky salt while the coating is wet. Allow to set at room temperature or speed up in the fridge for 10–15 minutes. Tip: For a marbled look, drizzle contrasting chocolate (white or dark) over the set coating.
Nutritional Information
Estimates per ball (makes ~24 balls): Calories 160–190 kcal; Total fat 9–11 g; Saturated fat 5–6 g; Carbohydrates 17–21 g; Sugars 14–18 g; Protein 2–3 g; Sodium 60–100 mg. These values are approximate and depend on exact ingredient brands and portion sizes — use a nutrition calculator with your specific ingredients for precise tracking. Data insight: swapping full-fat cream cheese for reduced-fat can lower calories by ~10–15% per ball, while replacing condensed milk with a lighter binder (e.g., yogurt + powdered sugar) changes sugar density and texture.
Healthier Alternatives for the Recipe
- Lower-sugar version: Use light sweetened condensed milk or reduce to 1/3 cup and increase vanilla to preserve sweetness perception. Add 1–2 tablespoons powdered erythritol for bulk without sugar.
- Dairy-free/vegan: Replace cream cheese with thick coconut cream whipped with 1/2 cup powdered sugar and use vegan condensed coconut milk; choose dairy-free chocolate melts.
- Higher-protein twist: Replace half the cream cheese with 1/2 cup plain Greek yogurt strained overnight and 2 tablespoons unflavored whey protein isolate — expect a slightly tangier, softer center.
- Lower-fat: Swap cream cheese for 1 cup mascarpone-light style or blended silken tofu (drain excess liquid), but adjust sweetness and chill longer to firm.
Creative dietary ideas: Make keto-friendly balls using crushed low-carb butter crunch or chopped nuts with sugar-free chocolate coating; for nut allergies, ensure candy swap and chocolate are nut-free.
Serving Suggestions
Serve chilled on a dessert platter with complementary elements: fresh raspberries to cut sweetness, espresso shots for a flavor contrast, or a selection of cheeses for a party tasting board. Pair with cold milk, salted caramel sauce for drizzling, or mini cones for a playful presentation. Personal tip: present on a bed of crushed Butterfinger crumbs in mini cupcake liners for easy pick-up at gatherings.
Common Mistakes to Avoid
- Using warm cream cheese or skipping chill time: leads to saggy centers and messy dipping.
- Overprocessing candy: turns crunchy texture into powder, losing the signature Butterfinger snap.
- Overheating chocolate: causes bloom (dull, streaky finish) or separates fats; melt gently and add oil sparingly.
- Dipping too soon: warm centers can cause chocolate to crack or slide off; always chill thoroughly.
- Storing in too humid a place: chocolate coating can sweat; keep in airtight containers.
Storing Tips for the Recipe
- Refrigerator: Store in a single layer in an airtight container with parchment between layers for up to 10 days. Bring to room temperature 10–15 minutes before serving for best flavor.
- Freezer: Flash-freeze on a tray for 1 hour, then transfer to a freezer-safe bag; store up to 3 months. Thaw in the fridge overnight before serving to prevent condensation.
- Make-ahead: Prepare centers up to 3 days in advance and keep chilled; dip on the day you plan to serve for optimal crunch.
- Travel tip: Use chilled gel packs under parchment-lined containers for transport; avoid leaving in hot cars.
Conclusion
Butterfinger Fudge Balls combine nostalgia, texture, and ease — delivering a crunchy, creamy bite that’s quicker than many traditional candies and flexible for dietary tweaks. Try the basic version to master firmness and crunch, then experiment with coatings, flavors, and plating to make them your signature treat. If you make them, snap a photo, leave a note about your favorite substitution, and explore related recipes like no-bake peanut butter truffles or chocolate-coated crunchy clusters for more quick candy ideas.
FAQs
Q: Can I use Butterfinger baking bits instead of whole bars?
A: Yes — baking bits are convenient and already sized for mixing; if using whole bars, crush to the same fine/flaky texture.
Q: How many balls does this recipe make?
A: Expect roughly 20–28 balls depending on scoop size; using a 1-inch scoop yields close to 24.
Q: Will the balls stay crunchy inside after a few days?
A: The internal crunch from Butterfinger will soften slightly over time as it equilibrates with the cream cheese. To maximize crunch, store in a cool, dry place and consume within a week.
Q: Can I skip the chocolate coating?
A: Yes — for a simpler version, roll chilled centers in extra crushed Butterfinger, cocoa powder, or powdered sugar; coating enhances shelf stability and presentation.
Q: How do I prevent chocolate from cracking after dipping?
A: Ensure centers are very cold, keep melted chocolate at proper temperature, and allow chocolate to set gently (avoid sudden temperature shifts like freezing immediately after dipping).
Q: Are these safe for kids and school lunches?
A: They contain dairy and a candy ingredient with potential allergens (peanuts in manufacturing environments) — check ingredient labels and school policies. Store refrigerated and pack in insulated containers if not served immediately.
Butterfinger Fudge Balls
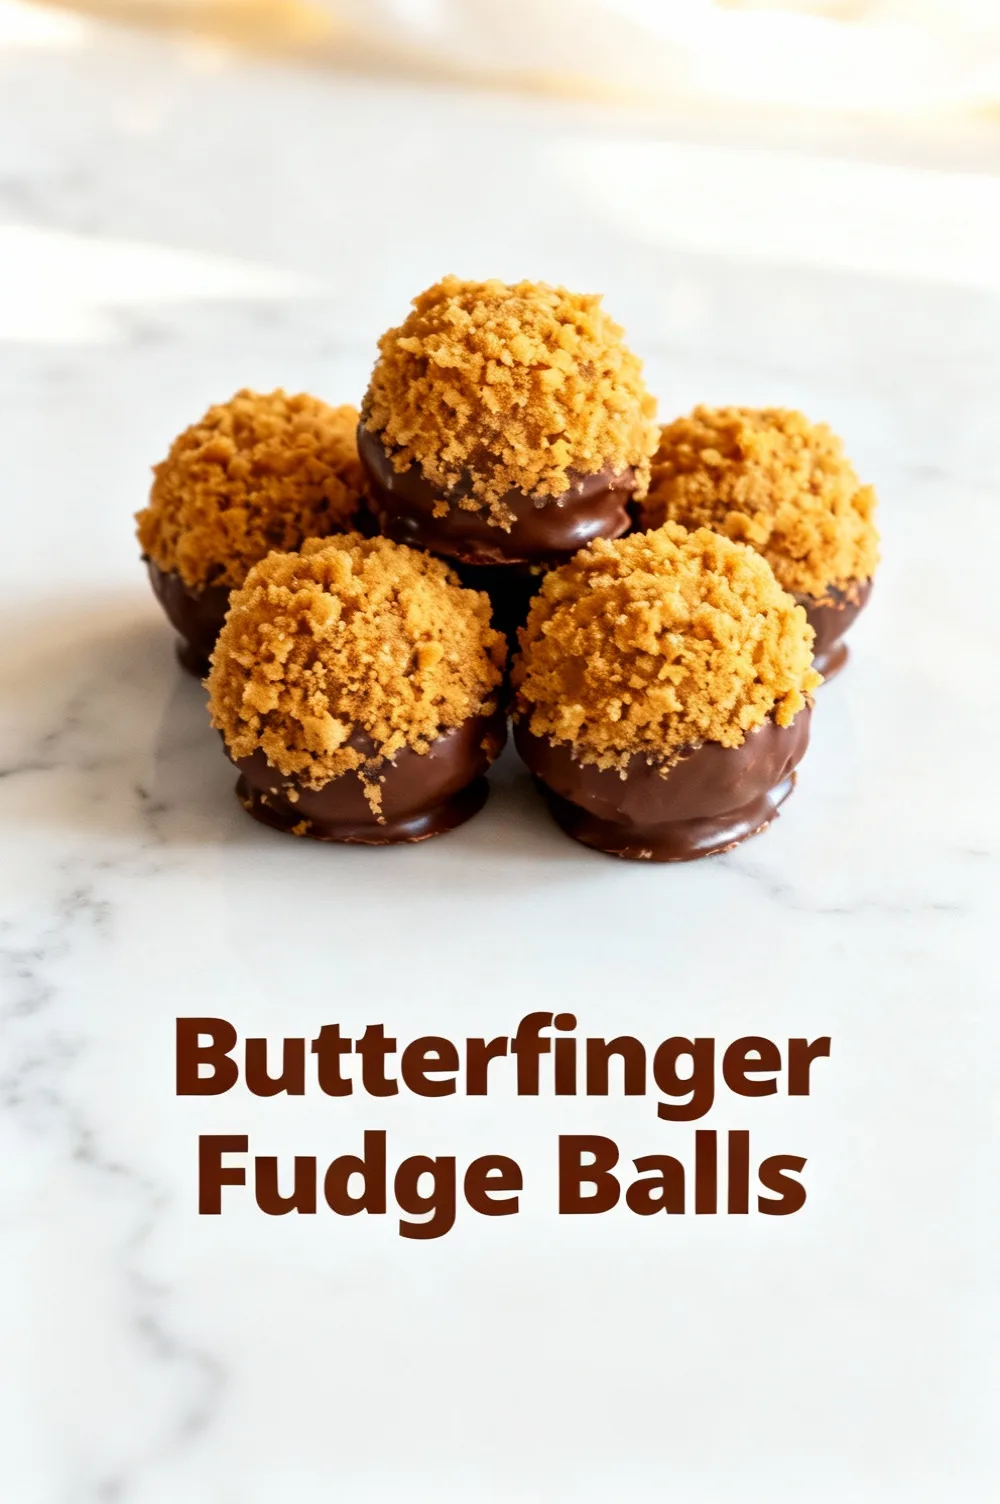
Quick no‑bake truffles loaded with crunchy Butterfinger pieces — sweet, crunchy, and irresistible.
Ingredients
- 8 oz (226 g) cream cheese, softened
- 1/2 cup (120 g) creamy peanut butter
- 1 tsp vanilla extract
- 2 cups (about 240 g) powdered (confectioners’) sugar, sifted
- 8 oz (about 8–10 fun‑size bars; ~2 cups) Butterfinger, finely crushed
- 12 oz (340 g) semi‑sweet or milk chocolate chips (for coating)
- 1 Tbsp unsalted butter or neutral oil (optional, for shine)
- Optional: extra crushed Butterfinger or flaky sea salt for garnish
Instructions
- In a large bowl, beat the softened cream cheese and peanut butter until smooth and combined using a hand mixer or stand mixer (about 1–2 minutes).
- Mix in the vanilla. Gradually add the sifted powdered sugar and beat on low until a thick, slightly sticky dough forms. Scrape down the sides as needed.
- Fold in the crushed Butterfinger pieces with a spatula until evenly distributed. The mixture should hold together when pressed; if too sticky, chill 10–15 minutes.
- Using a small cookie scoop or a tablespoon, portion the mixture and roll into 1‑inch (approx.) balls. Place on a parchment‑lined baking sheet. Chill the balls in the fridge for 30–45 minutes to firm up.
- While the balls chill, melt the chocolate chips in a heatproof bowl over a pot of simmering water (double boiler) or in 20‑second bursts in the microwave, stirring between intervals until smooth. Stir in the butter or oil if using.
- Remove the chilled balls from the fridge. Using a fork or dipping tool, dip each ball into the melted chocolate, letting excess drip off, then place back on the parchment. Immediately sprinkle with extra crushed Butterfinger or a pinch of flaky salt if desired.
- Chill the dipped balls until the chocolate is set, about 15–30 minutes. Store in an airtight container in the refrigerator for up to 7 days or freeze for longer storage.
Nutrition Information
- Calories: 230 kcal per ball (approx.)
- Cholesterol: 11 mg
- Sodium: 60 mg
- Carbohydrates: 24 g
- Fiber: 0.4 g
- Sugar: 22 g
- Protein: 2 g